Drywall Repair Before Painting: How Patch Quality Decides the Final Look
Paint does not hide a bad drywall repair. Here is what a quality patch actually involves and why the prep stage is where most interior paint jobs succeed or fail.
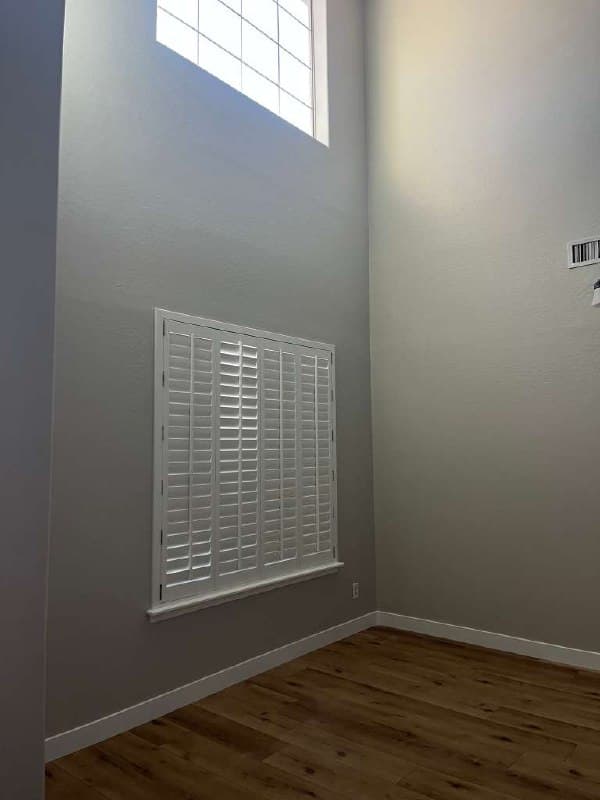
Interior painting is often described as a finish job, but it is also a magnifier. A new coat of paint exaggerates everything underneath it, especially in side lighting. A patched hole that looks invisible to the naked eye in a flat dry condition can read as a clear bump or hollow once paint is applied and afternoon sun crosses the wall at an angle. That is why drywall repair quality, which clients rarely see directly, is one of the strongest predictors of how a finished room will actually look.
The first part of a quality patch is understanding the damage. A nail pop, a screw hole, a doorknob hole, a corner ding, a stress crack along a seam, and a popped tape seam are all repaired differently. Treating them all the same — a quick smear of joint compound and a sand — is what produces patches that disappear briefly and then reappear once the paint dries and the wall is hit with real light. Each damage type has its own correct repair sequence.
Material choice matters more than people assume. Lightweight joint compound is great for skim work but cracks easily on deeper repairs. Setting-type compound — the kind that hardens through a chemical reaction rather than just drying — is the right call for filling deeper holes and bonding repaired sections so they do not flex later. Many serious repairs use both materials in sequence: setting compound to fill and bond, lightweight compound to feather and smooth.
Feathering is the technique that separates an invisible patch from a visible one. A good patch is not just filled flush with the surrounding wall. It is feathered out well past the actual repair area in thin progressive layers so that the eye, when it tracks across the wall under any light, finds no transition point. A small ding might get feathered six to eight inches in every direction. A bigger repair might get feathered out a foot or more on each side. Skipping the feather is the single most common reason patches show under paint.
Sanding between layers is the part most DIY repairs underdo and most pros overdo on purpose. After each layer of compound dries, light sanding with the right grit smooths the surface and prepares it for the next layer. The point is not just to flatten the patch — it is to remove the ridges and shallow grooves that a fresh layer can otherwise telegraph. A quality patch usually involves two or three sanding passes, not one.
Priming the patch is a step that DIY work skips constantly. Joint compound, even when sanded perfectly flat, absorbs paint differently than the surrounding painted drywall. If a patch is not primed, the topcoat dries with a slight sheen difference right where the repair sits — a phenomenon called flashing — which becomes obvious in real lighting. A spot prime over the patch, or sometimes a full wall prime if the wall has many patches, eliminates flashing and lets the topcoat dry uniformly across the entire surface.
Texture matching is the last piece, and it depends on the existing wall. Smooth walls are the easiest to match — a careful sand-and-prime produces a clean surface. Orange peel, knockdown, and skip-trowel textured walls all require matching the existing texture before paint, usually with a spray-on texture applied lightly and feathered in. A patched smooth area sitting in the middle of a textured wall will read as a flat spot from across the room no matter how well it was filled.
When all of these steps are done properly, the patch is invisible. When any of them is skipped, the patch shows. The patch itself was never the issue — the patch quality was. That is exactly why a careful crew spends real time on drywall repair before paint touches the wall and why the prep stage, more than the paint itself, is where interior projects either deliver or disappoint.
Need a painting estimate?
A&I Painting helps Arizona homes and businesses with interior painting, exterior painting, epoxy flooring, and cabinet refinishing.